As an Amazon Associate, I earn from qualifying purchases. This post may contain affiliate links, which means I may receive a small commission, at no cost to you, if you make a purchase through a link.
Spring brings more shedding, more outdoor time, and more chances for mats and dirt to build in your cat’s coat. You want a simple plan that keeps your cat comfortable, cuts down on hairballs, and helps you spot skin or health issues early. A short, steady spring grooming routine—brushing, nail and ear checks, a targeted bath if needed, and a tidy living area—will keep your cat healthy and your home cleaner.
Start small and stay consistent: a few minutes of brushing most days, quick nail trims, and regular ear and mouth checks make grooming easy. Use the right tools for your cat’s coat and set up a calm spot so grooming stays a positive habit. Stick with the steps in this checklist, and you’ll reduce matting, shedding, and stress for both of you.
Key Takeaways
- Keep a short, regular grooming routine to reduce shedding and hairballs.
- Use coat-appropriate tools and calm timing to make grooming simple and safe.
- Check nails, ears, and the home environment to catch problems early.
Why Spring Grooming Is Important for Cats
Spring grooming helps you manage heavy shedding, spot skin or parasite problems early, and keep your cat comfortable during seasonal changes. Regular grooming saves you time cleaning, lowers hairball risks, and lets you find issues before they become serious.
Shedding Season and Coat Health
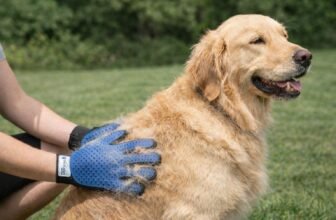
In spring your cat sheds the dense winter undercoat. Brush daily for long-haired cats and several times a week for short-haired cats to remove loose fur before it mats. Use a slicker brush or undercoat rake for thick coats and a rubber brush or grooming mitt for short coats.
Brushing stimulates skin oils and spreads them through the fur. That improves shine and reduces dry, flaky skin. While you groom, check for bald spots, scabs, or redness that could mean allergies, fungal infections, or other skin problems.
Keep a small lint roller or pet vacuum handy to lower indoor hair. If your cat grooms a lot and vomits hairballs, increase brushing frequency and consider a fiber supplement after talking with your vet.
Preventing Hairballs and Mats
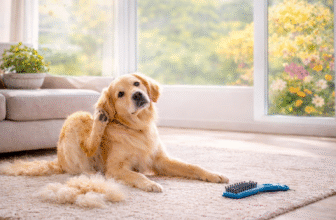
Hairballs form when your cat swallows loose fur while self-grooming. Regular brushing removes that fur before it reaches the stomach. For long-haired cats, focus on the belly, armpits, and behind the ears—these areas tangle most.
If you find mats, work them out gently with a dematting comb or your fingers. For large, tight mats, ask a groomer or vet to remove them. Never cut mats close to the skin unless you have proper training; accidental cuts can cause pain or infection.
Offer a grooming routine your cat tolerates: short sessions, treats, and praise. Trim excess fur around the rear for long-haired cats to reduce soiling and matting. A smoother coat means fewer hairballs and less fur tracked through your home.
Flea and Tick Risks in Spring
Warmer weather increases flea and tick activity, especially if your cat goes outside or lives near wildlife. While grooming, part the fur and check the skin closely for tiny moving black dots (fleas) or small round ticks attached to the skin.
Use a fine-tooth flea comb over a white paper towel; you’ll see flea dirt as rust-colored specks that dissolve in water. If you find fleas or ticks, follow your vet’s advice on approved treatments for your cat’s age and weight. Avoid over-the-counter products not labeled for cats.
Combine regular checking with year-round prevention if your vet recommends it. Early detection during grooming reduces the chance of infestations and the diseases fleas and ticks can spread.
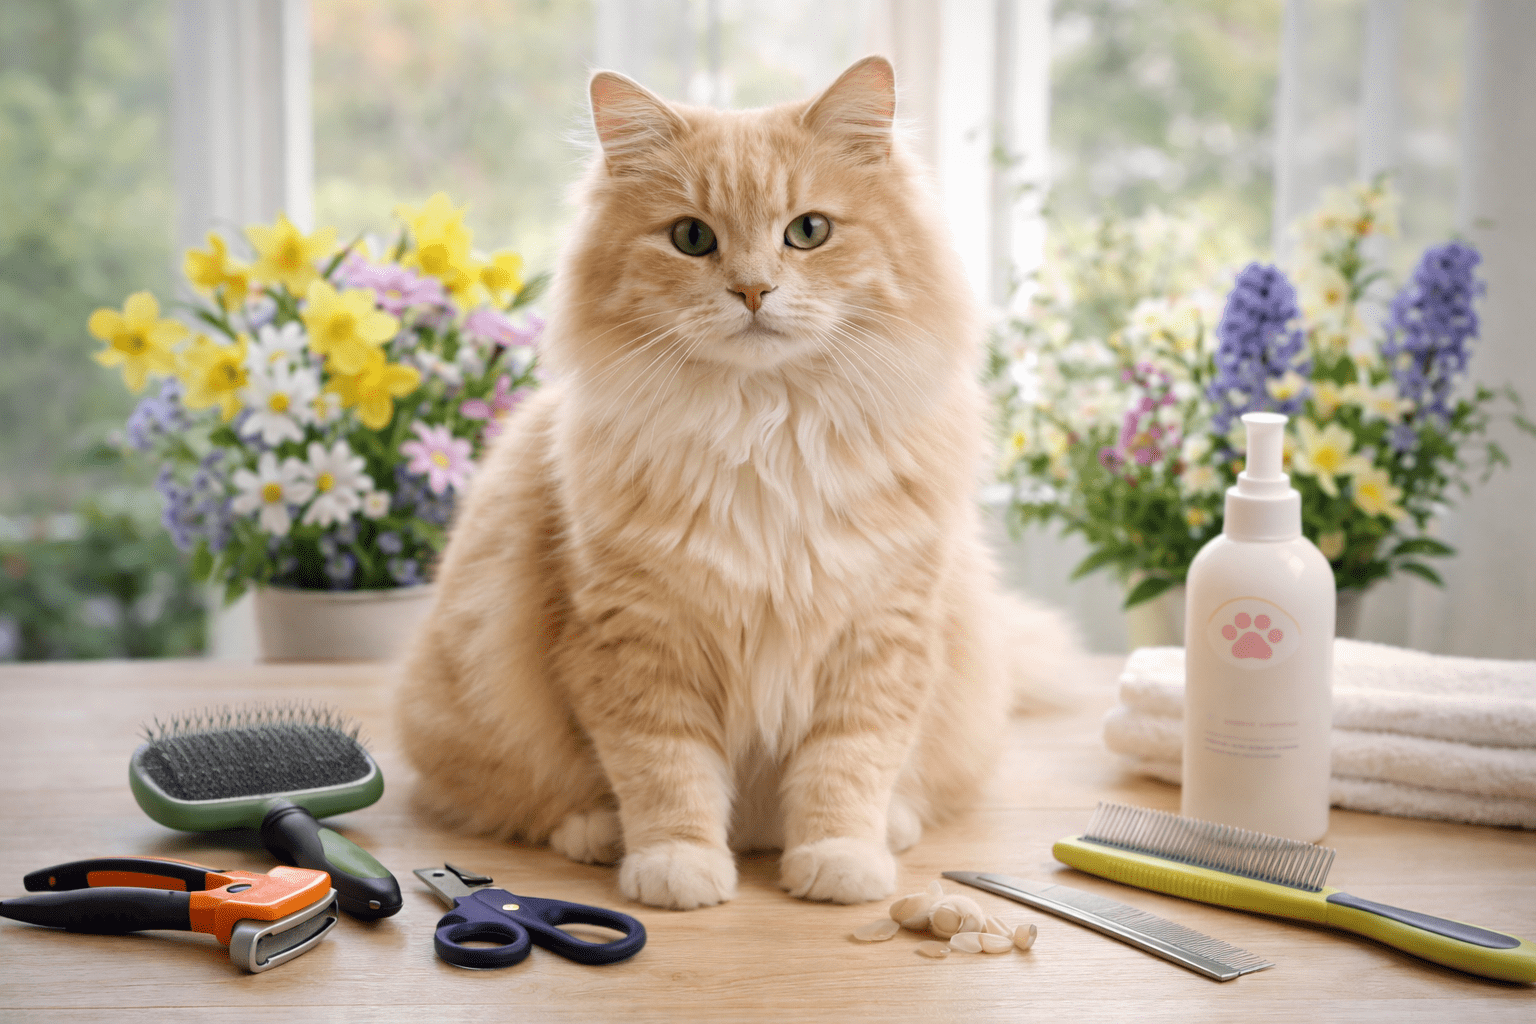
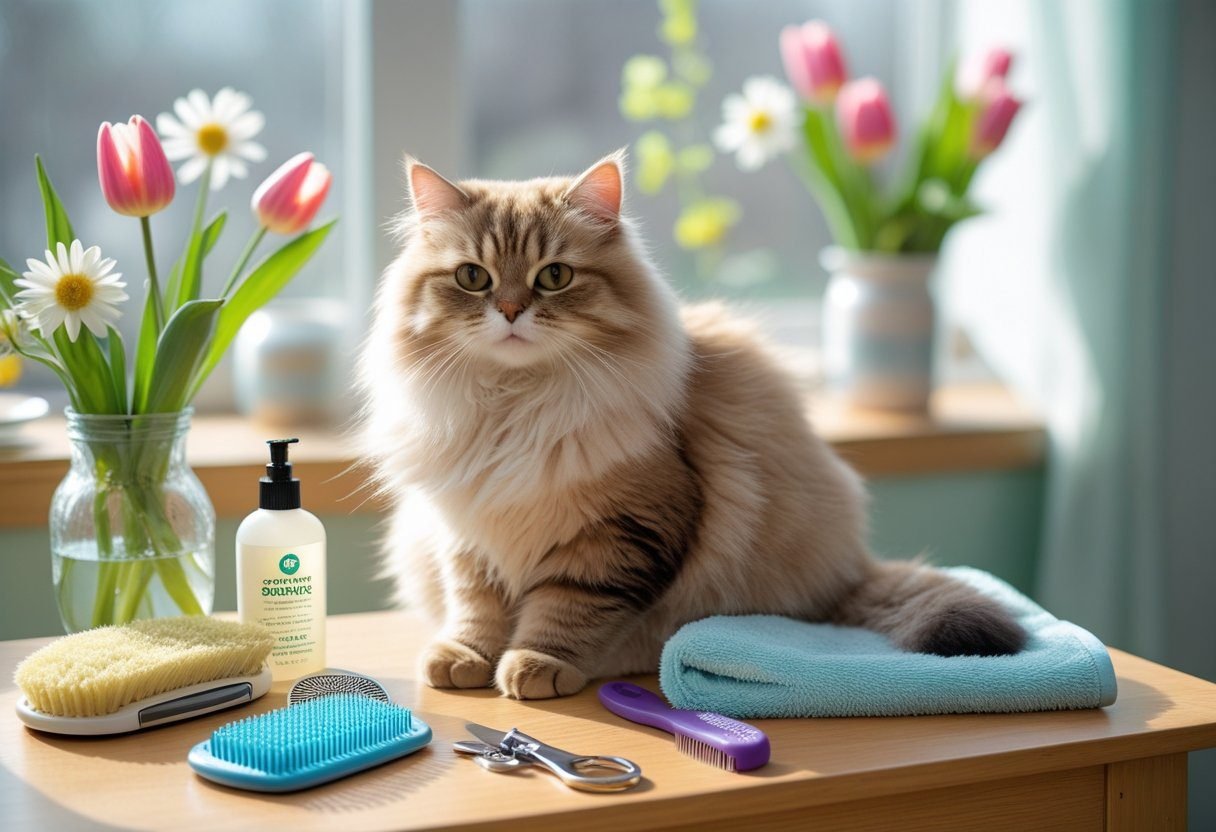
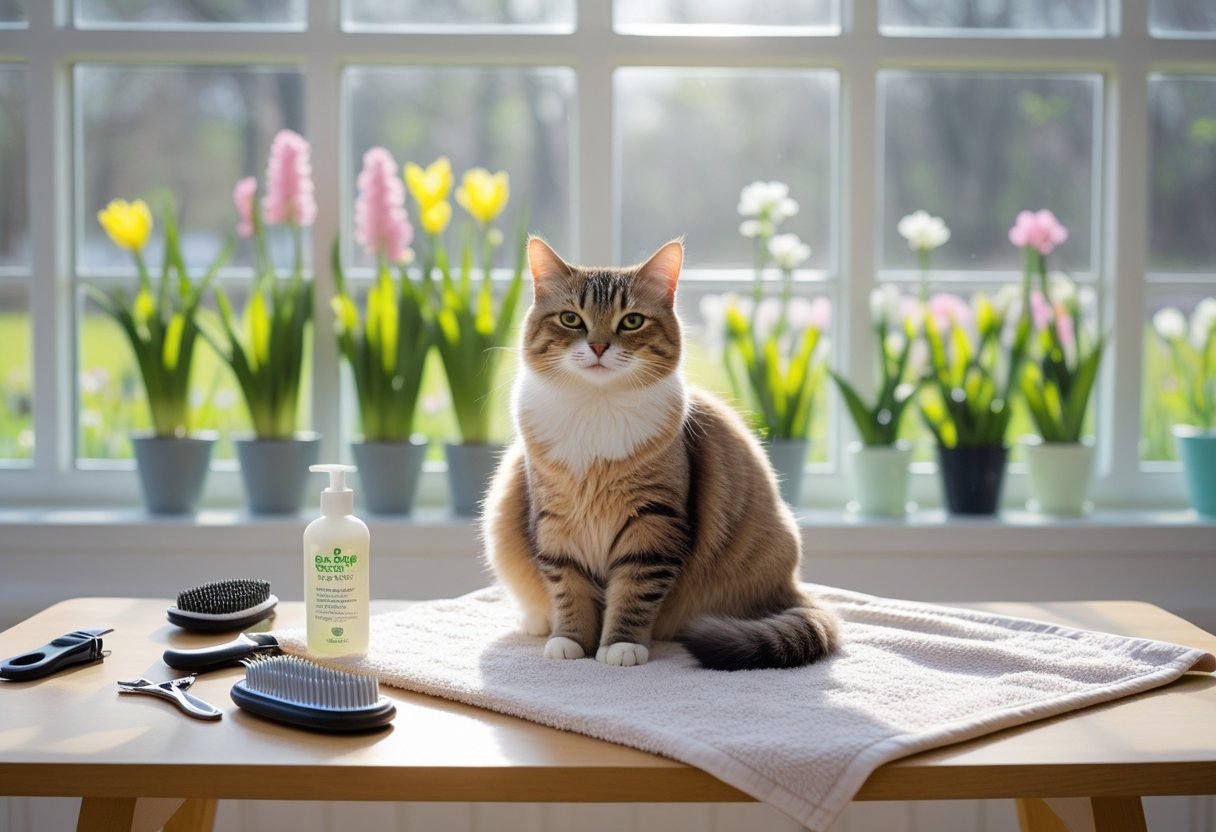
Essential Tools for Spring Cat Grooming
Spring brings heavier shedding and the need for skin checks, flea checks, and regular detangling. Use tools that remove loose undercoat, smooth topcoat, and let you spot skin issues quickly.
Slicker Brush and De-Shedding Tool
A slicker brush removes tangles, small mats, and loose surface fur. Use short, quick strokes in the direction of hair growth. Focus on problem zones: the chest, behind the ears, and under the legs. If your cat has long hair, work in sections and hold the skin taut to avoid pulling.
A de-shedding tool reaches the undercoat to lift dead hair without cutting the topcoat. Use it weekly for short-haired cats and 2–3 times a week for heavy shedders in spring. Apply light pressure and watch for skin contact. Clean hair from the tool after each pass to keep it effective and reduce pulling.
Bristle Brush and Rubber Grooming Mitt
A soft bristle brush adds shine and removes surface dust. Use it after a slicker to smooth and distribute natural oils. Bristle brushes work well on short- and medium-coated cats and on sensitive areas like the face.
A rubber grooming mitt removes loose hair while offering a petting experience. Use it during short sessions to calm anxious cats. The mitt is best for daily touch-ups and for cats that avoid brushes. Rinse the mitt under warm water to remove trapped fur and dry it before storing.
Wide-Toothed Comb Selection
Pick a wide-toothed comb for detangling and checking for debris or fleas. Use it after the slicker to find remaining tangles and to gently work through mats. For long-haired cats, choose comb teeth spaced about 5–7 mm apart to reach through the topcoat without snagging.
Work slowly from the ends toward the base of the hair. Use short strokes and hold the base of the hair to avoid tugging skin. Keep a pair of grooming scissors on hand with rounded tips to carefully trim tight mats you cannot comb out.
Maintaining and Cleaning Grooming Tools
Clean tools after each session to prevent hair buildup and skin irritation. Remove hair by hand or use a fine-tooth comb to pull fur from slicker brush pins. Rinse rubber mitts and bristle brushes with mild soap and warm water, then air dry completely.
Inspect metal tools for rust and replace blades or blades guards on de-shedding tools when dull. Store brushes with pins up to protect the bristles. Regularly check comb teeth and replace any with bent or broken teeth to avoid scraping your cat’s skin.
Step-by-Step Brushing and Combing Routine
Start by checking your cat’s skin and coat for bumps, dirt, or flea dirt. Use short, calm sessions and reward your cat after each pass to keep grooming positive.
Brushing Techniques for Different Coat Types
For short, single coats, use a rubber grooming glove or a soft bristle brush. Stroke with the hair in long, smooth motions from head to tail. Spend 3–5 minutes, focusing on shoulders and base of tail where loose hair collects.
For medium and long coats, begin with a slicker brush to lift loose fur and undercoat. Work in small sections: part the hair, brush from skin outward, then follow with a wide-toothed comb to check for hidden tangles. For long coats brush daily or every other day to prevent matting.
For double coats, use an undercoat rake or deshedding tool first, then a slicker, then the comb. For hairless cats, skip brushing and wipe skin with a microfiber cloth. Always be gentle around thin-skin areas like the belly and behind the ears.
Frequency of Grooming Sessions
Match frequency to coat type and season. Short-haired cats typically need brushing 2–3 times per week. Medium coats benefit from 3–4 sessions weekly. Long and double coats often need daily brushing during heavy shed seasons.
Keep sessions short: 5–10 minutes for most cats. Increase frequency instead of making sessions longer; multiple short sessions reduce stress and find problems sooner. Watch for more loose hair than usual—this signals you should brush more often or check for skin issues. Use a consistent schedule so your cat learns when to expect grooming.
Managing Tangles and Mats
Spot small tangles early. Hold the hair above the tangle to protect skin and work from the tips toward the base with a wide-toothed comb. Use a slicker brush gently on loosened tangles. Apply a small mist of water or detangling spray to help if hair is static.
For pea-sized mats, tease edges with the comb, then slide fingers along the mat to loosen it. Never cut mats with scissors; skin can lift into the mat and get cut. If a mat is large, tight, near sensitive areas, or your cat resists strongly, seek professional grooming help. Use consistent brushing to prevent most mats from forming.
Bathing and Cleaning: What Every Cat Owner Should Know
Bathing a cat is rare but sometimes needed. Focus on whether your cat truly needs a bath, which shampoo matches their skin, and how to dry them safely to avoid stress and skin problems.
When and How to Bathe Your Cat
Only bathe your cat when they are dirty, greasy, have a skin condition your vet advised treating, or if they got into a toxic substance. Healthy indoor cats rarely need regular baths. Choose a calm time when your cat is drowsy, such as after play or a meal.
Set up a shallow sink or tub with 2–3 inches of warm water (about 100°F / 38°C). Wear non-slip gloves and keep towels nearby. Gently wet your cat from the neck down using a cup or low-pressure sprayer. Avoid the face, ears, and eyes; use a damp cloth for the head. Apply a small amount of cat-specific shampoo, work it into the fur, then rinse thoroughly. Rinse until the water runs clear to prevent residue that can irritate skin.
Use a helper if your cat resists. Trim nails before bathing to reduce scratches. If your cat panics, stop and try again later or seek professional groomer help.
Choosing the Right Cat Shampoo
Pick a shampoo labeled for cats and matched to their skin needs: hypoallergenic for sensitive skin, medicated for fleas or fungal infections only on vet advice, or moisturizing for dry coats. Human shampoos and dog shampoos change pH and can strip oils, so avoid them.
Read ingredient lists. Look for gentle surfactants, added conditioners like aloe or oatmeal, and no artificial fragrances or harsh alcohols. For flea control, use only products your vet recommends; some over-the-counter flea shampoos can harm cats. If your cat has wounds, dermatitis, or chronic itch, get a veterinary shampoo prescription.
Test a small patch first. Apply shampoo to a paw-sized area, rinse, and watch 24 hours for redness or itching. If any reaction appears, stop and contact your vet.
Drying and Handling After Bath Time
Towel dry immediately using an absorbent towel and gentle pressure—wrap your cat like a burrito if that calms them. Change to a dry towel once the first gets too wet. Keep the room warm (about 70–75°F) and free of drafts during drying.
If your cat tolerates a blow dryer, use the lowest heat and speed, and keep it 12 inches away; move constantly to avoid hot spots. Many cats prefer air drying on a warm towel or lap. Brush your cat once mostly dry to remove loose fur and prevent tangles. Offer treats and calm praise to create positive associations.
Watch for shivering, prolonged skin dampness, or behavior changes; these may signal stress or a problem and should prompt a vet check. If drying proves too stressful, consider professional grooming next time.
Oral, Ear, and Nail Care Checklist
Keep your cat comfortable and healthy by checking teeth, ears, and nails every few weeks. Use the right tools and gentle technique to avoid pain or injury.
Brushing with Cat Toothbrush and Toothpaste
Use a small, soft cat toothbrush and feline toothpaste only. Human toothpaste can harm cats. Start by letting your cat taste a pea-sized amount of cat toothpaste from your finger. Do this for a few days until your cat shows no fear.
Move to the toothbrush when your cat accepts the taste. Hold your cat gently, lift the lip, and brush the outside surfaces of the upper and lower teeth with short, circular strokes. Focus on the back molars where tartar builds first. Aim for 2–3 times per week for most cats; daily is best if your vet recommends it.
Watch for red gums, bad breath that won’t improve, or blood while brushing. If you see any of those, stop and call your vet. Store toothpaste in a cool place and replace the toothbrush every 3–6 months or sooner if bristles splay.
Nail Trimming Best Practices
Trim nails every 2–4 weeks depending on wear. Use cat-specific clippers—scissor or guillotine style—so you can make a clean cut. Sit in a quiet room and have styptic powder nearby in case you hit the quick.
Gently press the paw pad to extend the claw. Cut only the clear tip, avoiding the pink quick, which contains blood and nerves. For dark nails, trim small amounts until you see a dark center with a slightly lighter ring; stop there. If your cat resists, trim one or two nails per session and reward with a treat.
If a nail bleeds, apply styptic powder or cornstarch and hold pressure for a minute. Regular scratching posts will help wear nails between trims, but don’t skip clippings if nails curl or snag.
Ear and Eye Care During Spring
Check ears weekly for wax, dark debris, or a strong odor—signs of infection or ear mites. Use a vet-approved ear cleaner on a cotton ball; never insert cotton swabs into the ear canal. Gently wipe the outer ear and crease only.
Look at your cat’s eyes for redness, cloudiness, or green/yellow discharge. Wipe clear discharge with a damp, soft cloth. If you spot persistent tearing, squinting, or a change in pupil size, contact your vet.
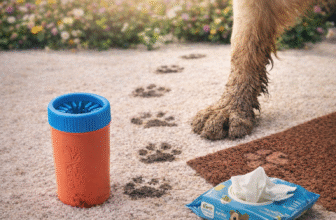
Spring can bring more outdoor allergens and ticks. After outdoor time, inspect ears and around the face for ticks and debris. If you find a tick, remove it with fine-tipped tweezers, pulling straight out and not twisting, then clean the area and call your vet if you’re unsure.
Spring Cleaning Your Cat’s Environment
Tackle the spots that affect your cat’s health and smell first. Focus on the litter area, cleaning products you use, and washable items like beds, toys, and trees.
Deep Cleaning the Litter Box and Accessories
Empty the litter box completely and put on gloves. For a standard litter box, dump old litter into a sealed trash bag, then scrub the box with hot water and a pet-safe cleaner. Use an enzyme cleaner on urine stains and odor spots; enzymes break down the proteins that cause smell. Rinse thoroughly and dry before adding fresh litter.
If you own a self-cleaning litter box, follow the manufacturer guide for disassembly. Wipe electronic parts with a damp cloth—do not submerge the base or control panel. Clean scoops, mats, and liners the same way: soak if needed, then scrub and air-dry. Replace worn liners and filters on fountains or automatic feeders.
Keep a schedule: scoop daily, deep clean the box every 1–3 weeks depending on how many cats you have, and deep-sanitize with an enzymatic cleaner when odors persist.
Using Pet-Safe Cleaning Products for Cat Areas
Choose cleaners that list “pet-safe” or avoid these ingredients: ammonia, bleach, tea tree oil, phenols, and rubbing alcohol. Those can harm cats or worsen litter box avoidance.
Use enzyme cleaners for organic messes like urine or vomit. Read label directions for contact time—enzymes need minutes to work. For general surface cleaning, dilute white vinegar with water or use a labeled pet-safe disinfectant. Always rinse surfaces that touch food or water.
Store all cleaning products out of reach. When you clean, ventilate the room and keep your cat in a separate area until floors and surfaces are fully dry.
Refreshing Bedding, Toys, and Cat Furniture
Gather all washable bedding, slipcovers, and soft toys. Shake out loose fur outside, then wash on a hot cycle if the care tag allows. Air-dry stuffed items to avoid misshaping. Discard bedding with torn seams or signs of fleas.
For fabric cat trees and upholstered furniture, vacuum crevices with a brush attachment first. Spot-treat stains with an enzymatic cleaner and blot; avoid saturating boards or sisal. For heavy fur, use a lint roller or rubber glove to lift hair before washing any removable covers.
For plastic and rubber toys, wash with warm soapy water or wipe with a pet-safe disinfectant. Throw away broken toys with loose parts. Replace old catnip or refill toys designed for re-stuffing. Inspect grooming tools and replace any that are cracked or rusty.
Frequently Asked Questions
This section gives clear, practical answers about tools, timing, skin and coat problems, mat prevention, pro grooming benefits, and signs of allergies. Each answer lists actions you can take and items to watch for this spring.
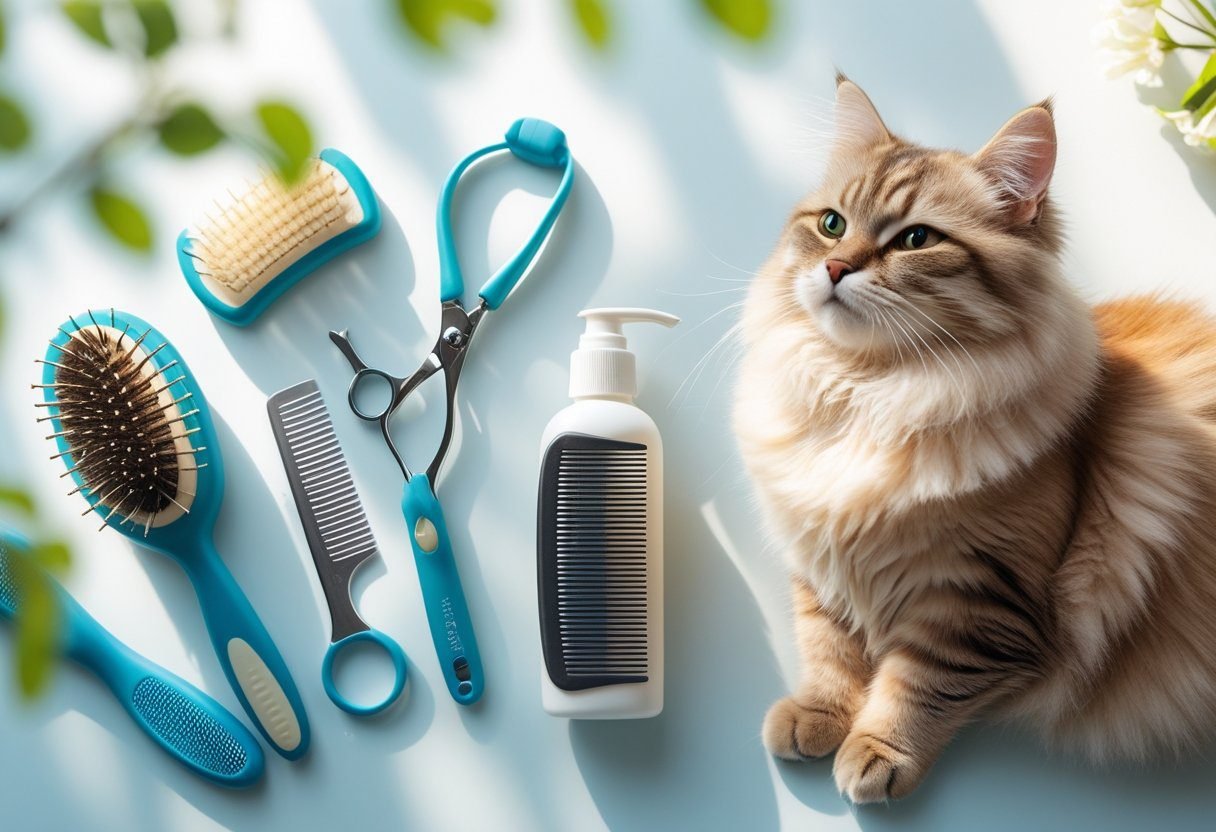
What essential items should be included in a spring cat grooming checklist?
Include a slicker brush for long hair and a soft-bristle brush for short hair to remove loose fur and reduce shedding. Add a de-shedding tool, wide-tooth comb for tangles, and a grooming glove for gentle finishing.
Keep nail clippers designed for cats, styptic powder for accidental cuts, and cat-safe shampoo if you plan to bathe your cat. Have ear-cleaning solution, cotton balls, and a tooth brush or dental wipes for mouth care.
How often should I groom my cat during the spring months?
Brush long-haired cats daily to prevent mats and cut down on hairballs. Short-haired cats usually need brushing 1–3 times per week depending on shedding.
Trim nails every 2–4 weeks or when you hear clicking on hard floors. Check ears and eyes weekly and bathe only when visibly dirty or recommended by your vet.
What signs indicate that my cat is over-grooming this spring season?
Watch for hairless patches, red or irritated skin, or scabs. If your cat grooms so much that fur thins in spots or you see constant licking, that signals over-grooming.
Also note behavior changes like restlessness or hiding, and increased grooming after going outside. If you see these signs, contact your veterinarian for evaluation.
Can you recommend techniques for preventing matting in a cat’s fur during spring?
Start by brushing your cat daily and use short, gentle strokes with a slicker brush on long coats. Work in small sections and hold the skin taut near the base of the fur to avoid pulling.
Use a wide-tooth comb to remove loose undercoat and a de-shedding tool on heavy shed days. If you find tight mats, soften them with a detangling spray and carefully cut only the mat if it cannot be combed out, or seek a professional groomer.
What are the benefits of professional grooming for cats in the springtime?
Professional groomers remove stubborn mats safely and can perform a sanitary trim for hygiene. They also offer de-shedding treatments that reduce indoor hair and hairballs.
A groomer can spot skin issues, parasites, or ear problems you might miss and advise you on home care. If your cat resists at-home grooming or has severe mats, a pro visit reduces stress and risk of injury.
How can I tell if my cat has allergies that are affecting its grooming habits?
Look for repeated itching, red or inflamed skin, and recurring ear infections. Allergies often cause sneezing, watery eyes, or seasonal flare-ups that match outdoor pollen peaks.
If grooming increases suddenly or you find dandruff and hair loss, track the timing and discuss it with your vet. They can test for environmental or food allergies and suggest treatment or diet changes.